Set up Google Pay
Configure your store to accept Google Pay, creating a more seamless checkout experience by allowing users to easily access their preferred payment option.
Prerequisites
Do the following things before enabling Google Pay:
- Install Bold Booster on your store:
- Ensure you have access to Bold Account Center
- Connect PayPal Complete Payments, Braintree, Stripe, or Nuvei as a payment gateway
- Disable any password or HTTP authentication settings in your store's development or staging environments. These settings will prevent you from testing Google Pay.
Enable Google Pay in Bold Account Center
Enable Google Pay in your Bold account if you haven't already. If you did this in the initial onboarding wizard, skip to the next section.
- In Bold Account Center, under Checkout, click Open.
- Navigate to Payment options > Payment gateways.
- Next to your preferred payment gateway, click the ellipsis (...) and click Edit credentials.
- Check the box to enable Google Pay.
- Click Save.
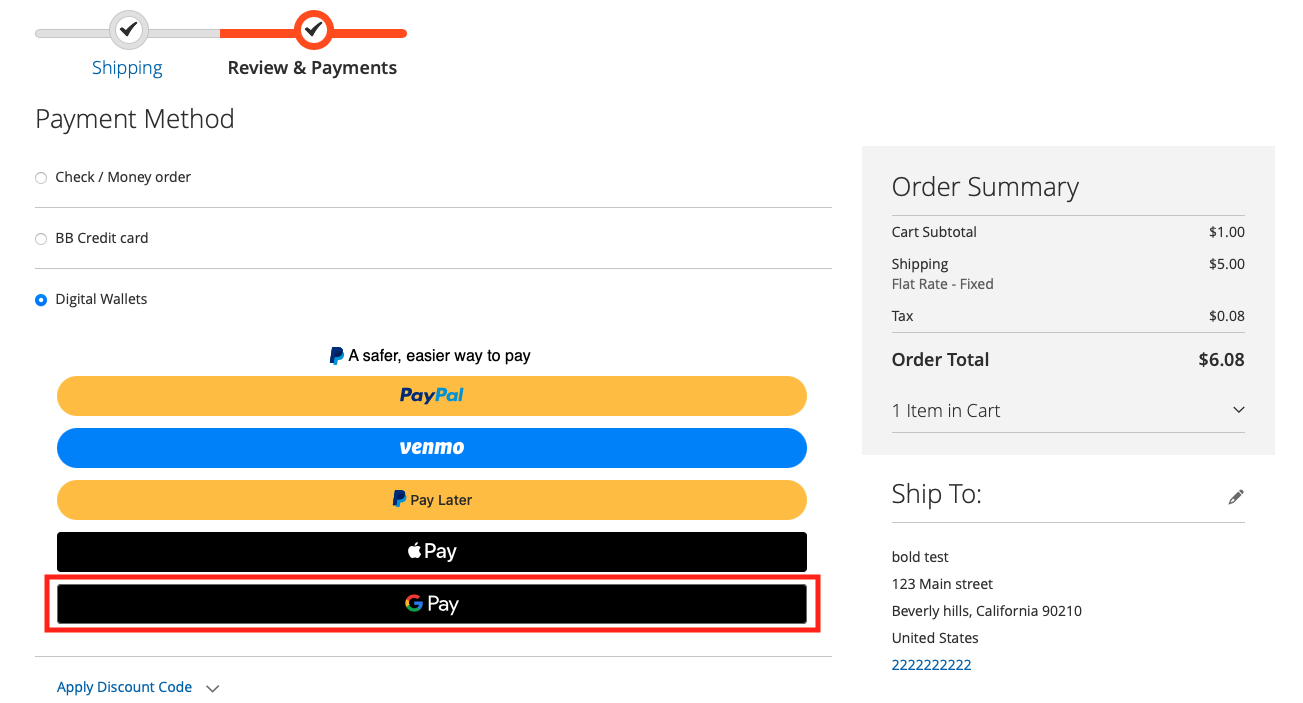
The Google Pay button will now appear at the payment step during checkout for customers using Chrome.
Add the Google Pay button to other places in your store
Configure settings in your Adobe Commerce or Magento 1 admin to make the Google Pay button appear before the shipping step or on cart or product pages.
To do this, you must be using Google Pay with PayPal Complete Payments as your payment gateway.
-
Log in to your store's admin and navigate to Sales > Checkout.
-
Enable any of the following settings to add the Google Pay button to more places.
noteEnabling any of these settings will make other digital wallets you've configured, such as Apple Pay or PayPal, appear in the same location alongside Google Pay.
Setting Result Enable Digital Wallets in Express Checkout Button appears above the shipping step during checkout Enable Digital Wallets on Cart Page (Adobe Commerce) Button appears on the cart page and in the mini cart Enable Digital Wallets in Cart (Magento 1) Button appears on the cart page Enable Digital Wallets in Mini Cart (Magento 1) Button appears in the mini cart Enable Digital Wallets on Product Pages Payment buttons will display directly on all product detail pages -
Save the configuration.