Making API Calls
Bold provides several methods for authenticating calls to the APIs. This guide covers the various methods of authenticating and outlines the instructions for doing so.
Prerequisites
Before you get started, complete the steps outlined in this product's Getting Started guide.
Generate a token
First, you must identify which type of token is appropriate for your project. Use the following table to determine which type is right for you:
| Token type | Use cases | Method of creation | Instructions |
|---|---|---|---|
| API Access Token | Private integrations | Via Bold Account Center | Read the instructions |
| OAuth 2.0 Token | Public integrations | Via the Developer Dashboard | Read the instructions |
Generate an API access token
To request a unique API access token, use the following steps:
- Log in to Bold Account Center, or sign up for an account if you don't have one yet.
- In the Bold Account Center, click API access tokens in the left-hand menu.
- Click Create API access token.
- Enter the API access token name and select the scopes you need. When prompted to specify the scopes of your API access token, select the following scopes:
- Checkout
- Subscriptions
- Price Rules
| Category | Scope | Permissions |
|---|---|---|
| Core | Customers | Read & Write |
| Core | Orders | Read & Write |
| Core | Shop Settings | Read & Write |
| Core | Shops | Read |
| Checkout | Payments | Write |
| Category | Scope | Permissions |
|---|---|---|
| Core | Products | Read & Write |
| Core | Customers | Read & Write |
| Core | Orders | Read & Write |
| Core | Shop Settings | Read & Write |
| Core | Shops | Read |
| Subscriptions | Subscriptions | Read & Write |
| Subscriptions | Subscription Groups | Read & Write |
| Subscriptions | Shops | Read |
| Subscriptions | Activity Logs | Read & Write |
| Category | Scope | Permissions |
|---|---|---|
| Core | Products | Read & Write |
| Core | Customers | Read & Write |
| Core | Orders | Read & Write |
| Core | Shop Settings | Read & Write |
| Core | Shops | Read |
| Price Rules | Price Ruleset | Read & Write |
| Price Rules | Price Order Conditions | Read & Write |
| Price Rules | Price Rules Discount Codes | Read & Write |
- Click Create. A dialog box provides you with a shared secret and API access token. Be sure to save both in a secure location, as they disappear when you close the dialog.
- Click Done when you are finished.
Generate an OAuth token
Follow the instructions in the Build Public Integrations guide to create a Developer Dashboard account and authenticate your integration.
These steps are also included below for your convenience:
OAuth 2.0 Authentication flow
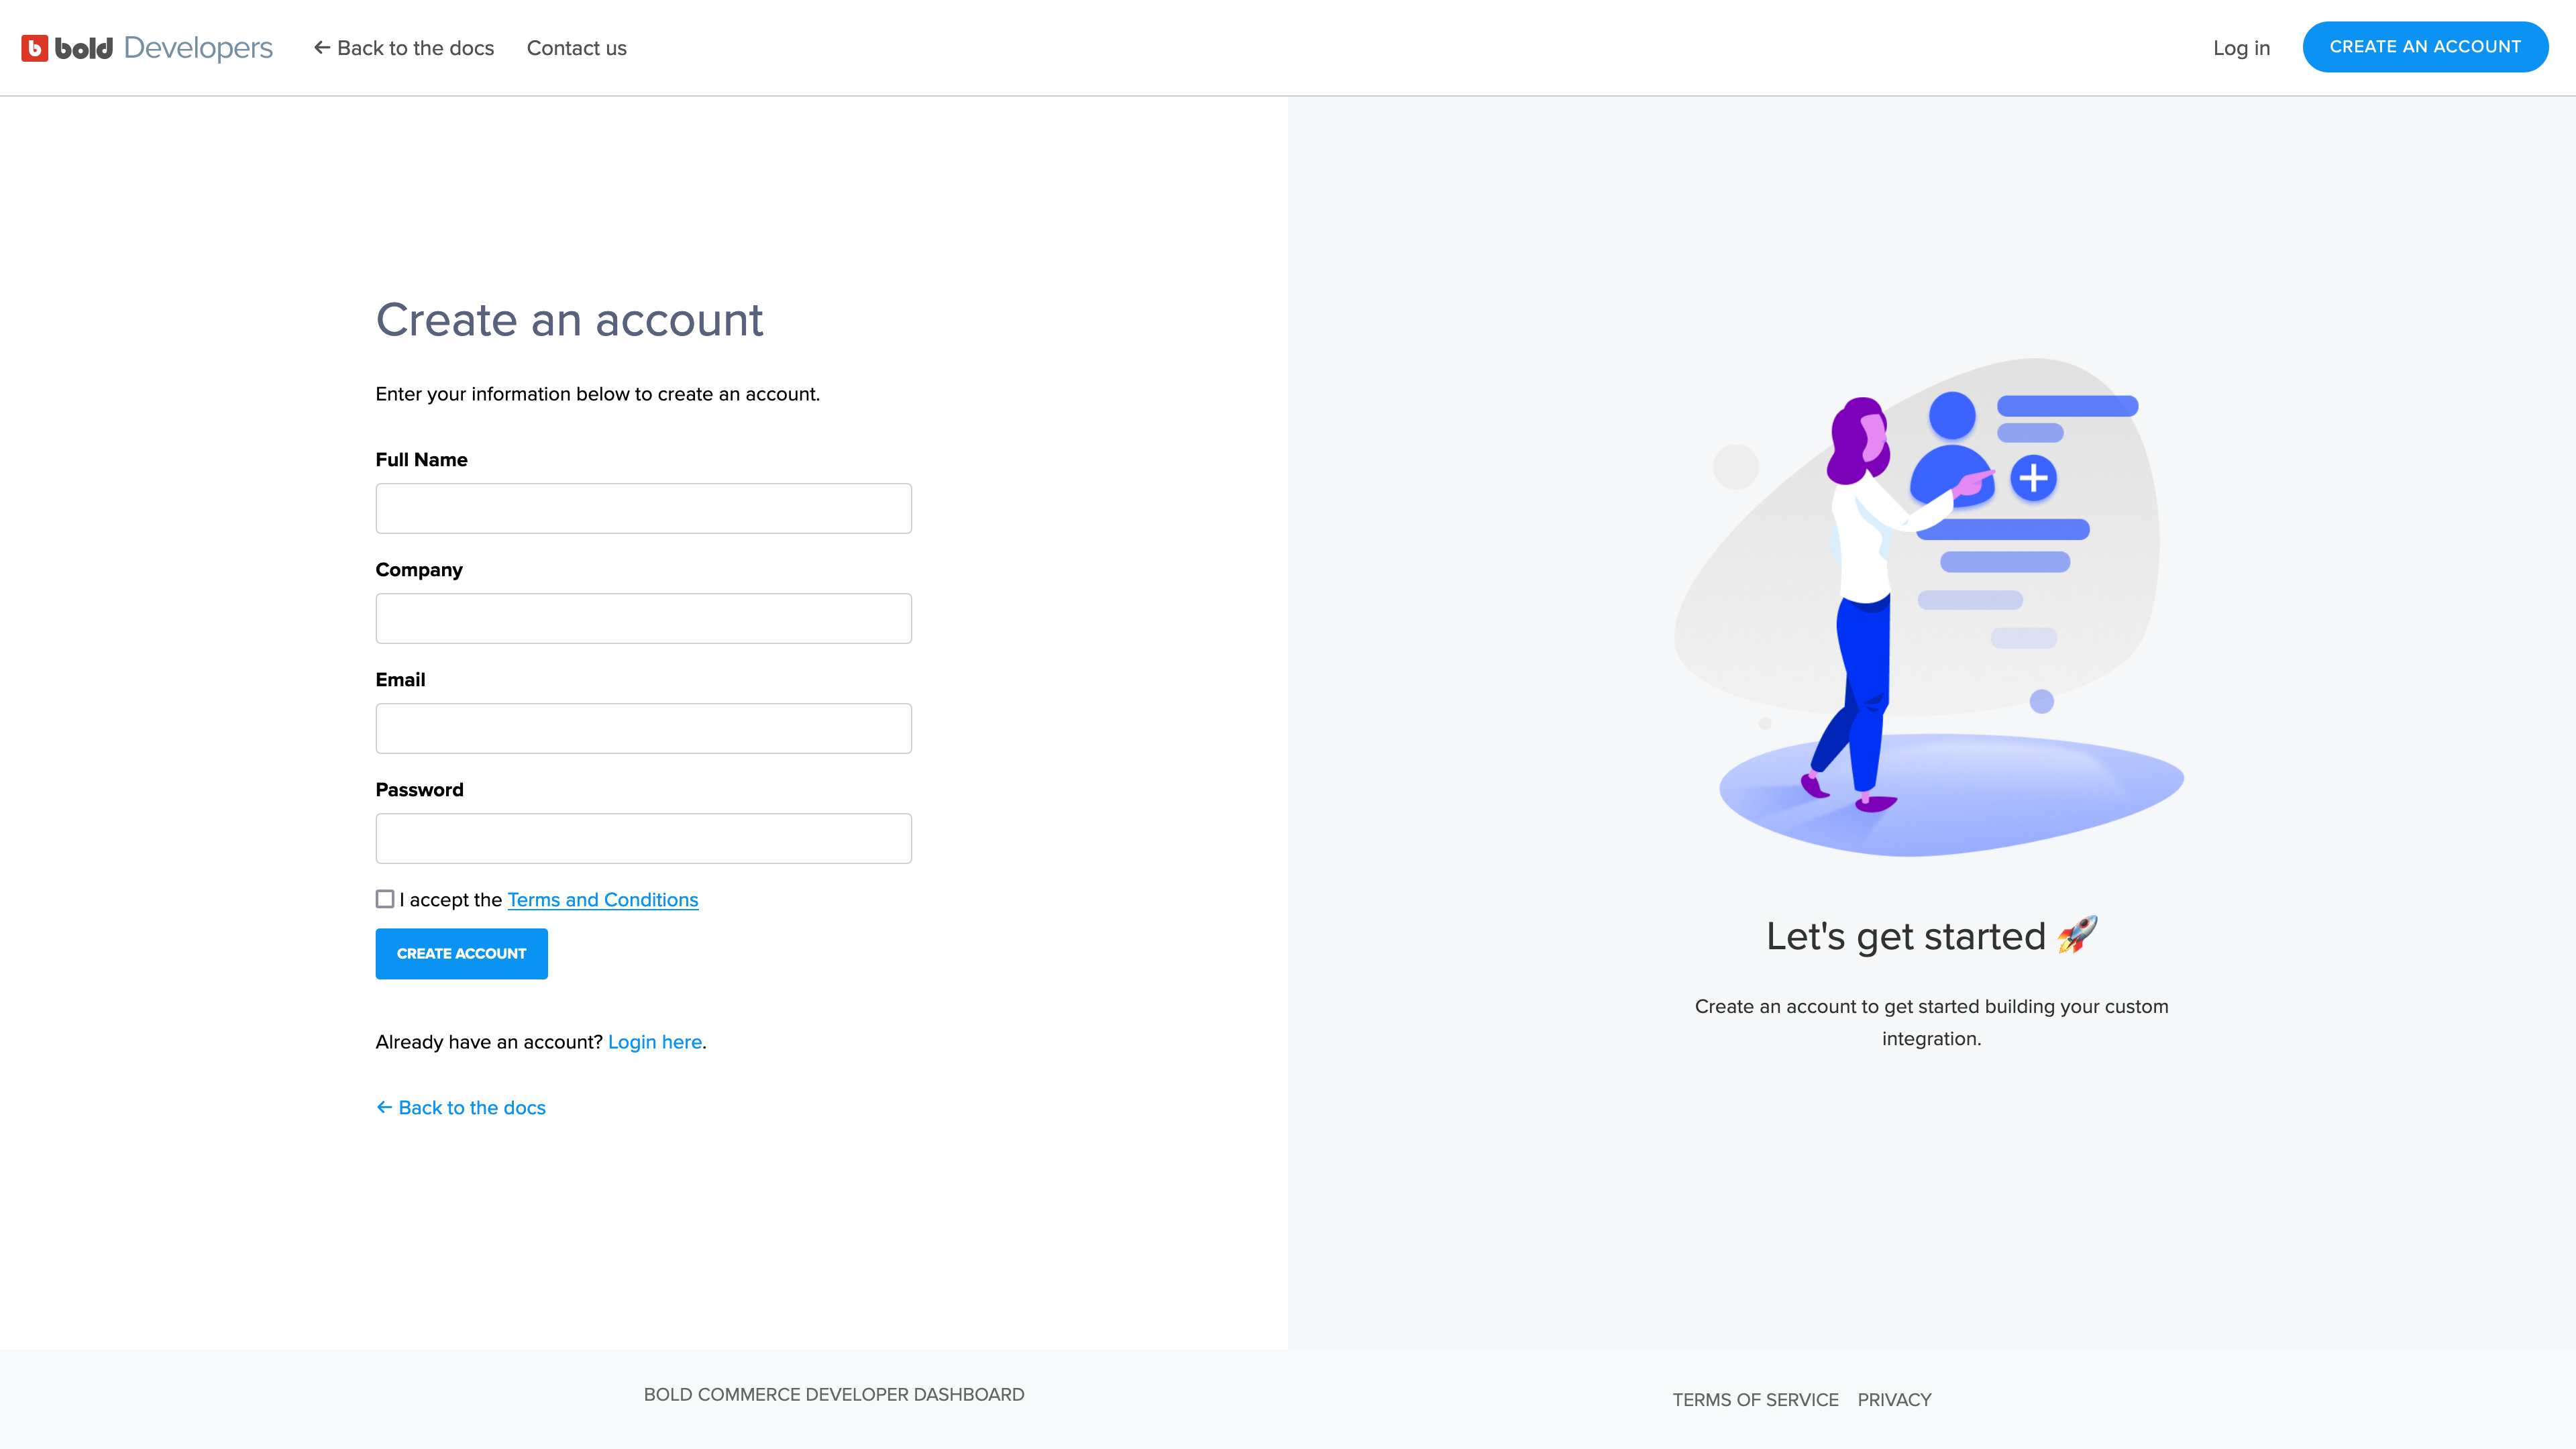
Create a Bold Developer Dashboard account
The Bold Developer Dashboard enables you to make requests to Bold APIs. With this account, you can generate a client ID and specify your redirect URI for OAuth authentication.
To create an account and prepare your integration for install, complete the following steps.
- Create a Bold Developer Dashboard account here.
- Navigate to your developer dashboard.
- Click Create API Credential.
- Specify your application's name and redirect URI (e.g.,
https://myapp.example.com/complete_install). - Note the generated
client_id.
Exchange client ID
For each store your integration is installed on, you must request (and receive) access scopes from the store administrator, and generate an API access token.
To avoid re-use of API access tokens, each store requires a unique token. Once generated, API access tokens do not expire, and refresh tokens are not required.
Request permissions
When a merchant installs your integration, you must prompt them to authorize your request for the access scopes your integration requires. The following code sample shows an example of directing the merchant to an install page in Bold Account Center:
https://apps.boldapps.net/accounts/dashboard/authorize?client_id={client_id}&scope=read_products&redirect_uri=https://myapp.example.com/complete_install
| Field | Description |
|---|---|
client_id | The client ID generated by creating credentials on your developer dashboard. |
scope | The comma-separated list of access scopes your application requires. |
redirect_uri | The URL to redirect the merchant to after they accept scopes. |
The following screenshot shows the install page in Bold Account Center.
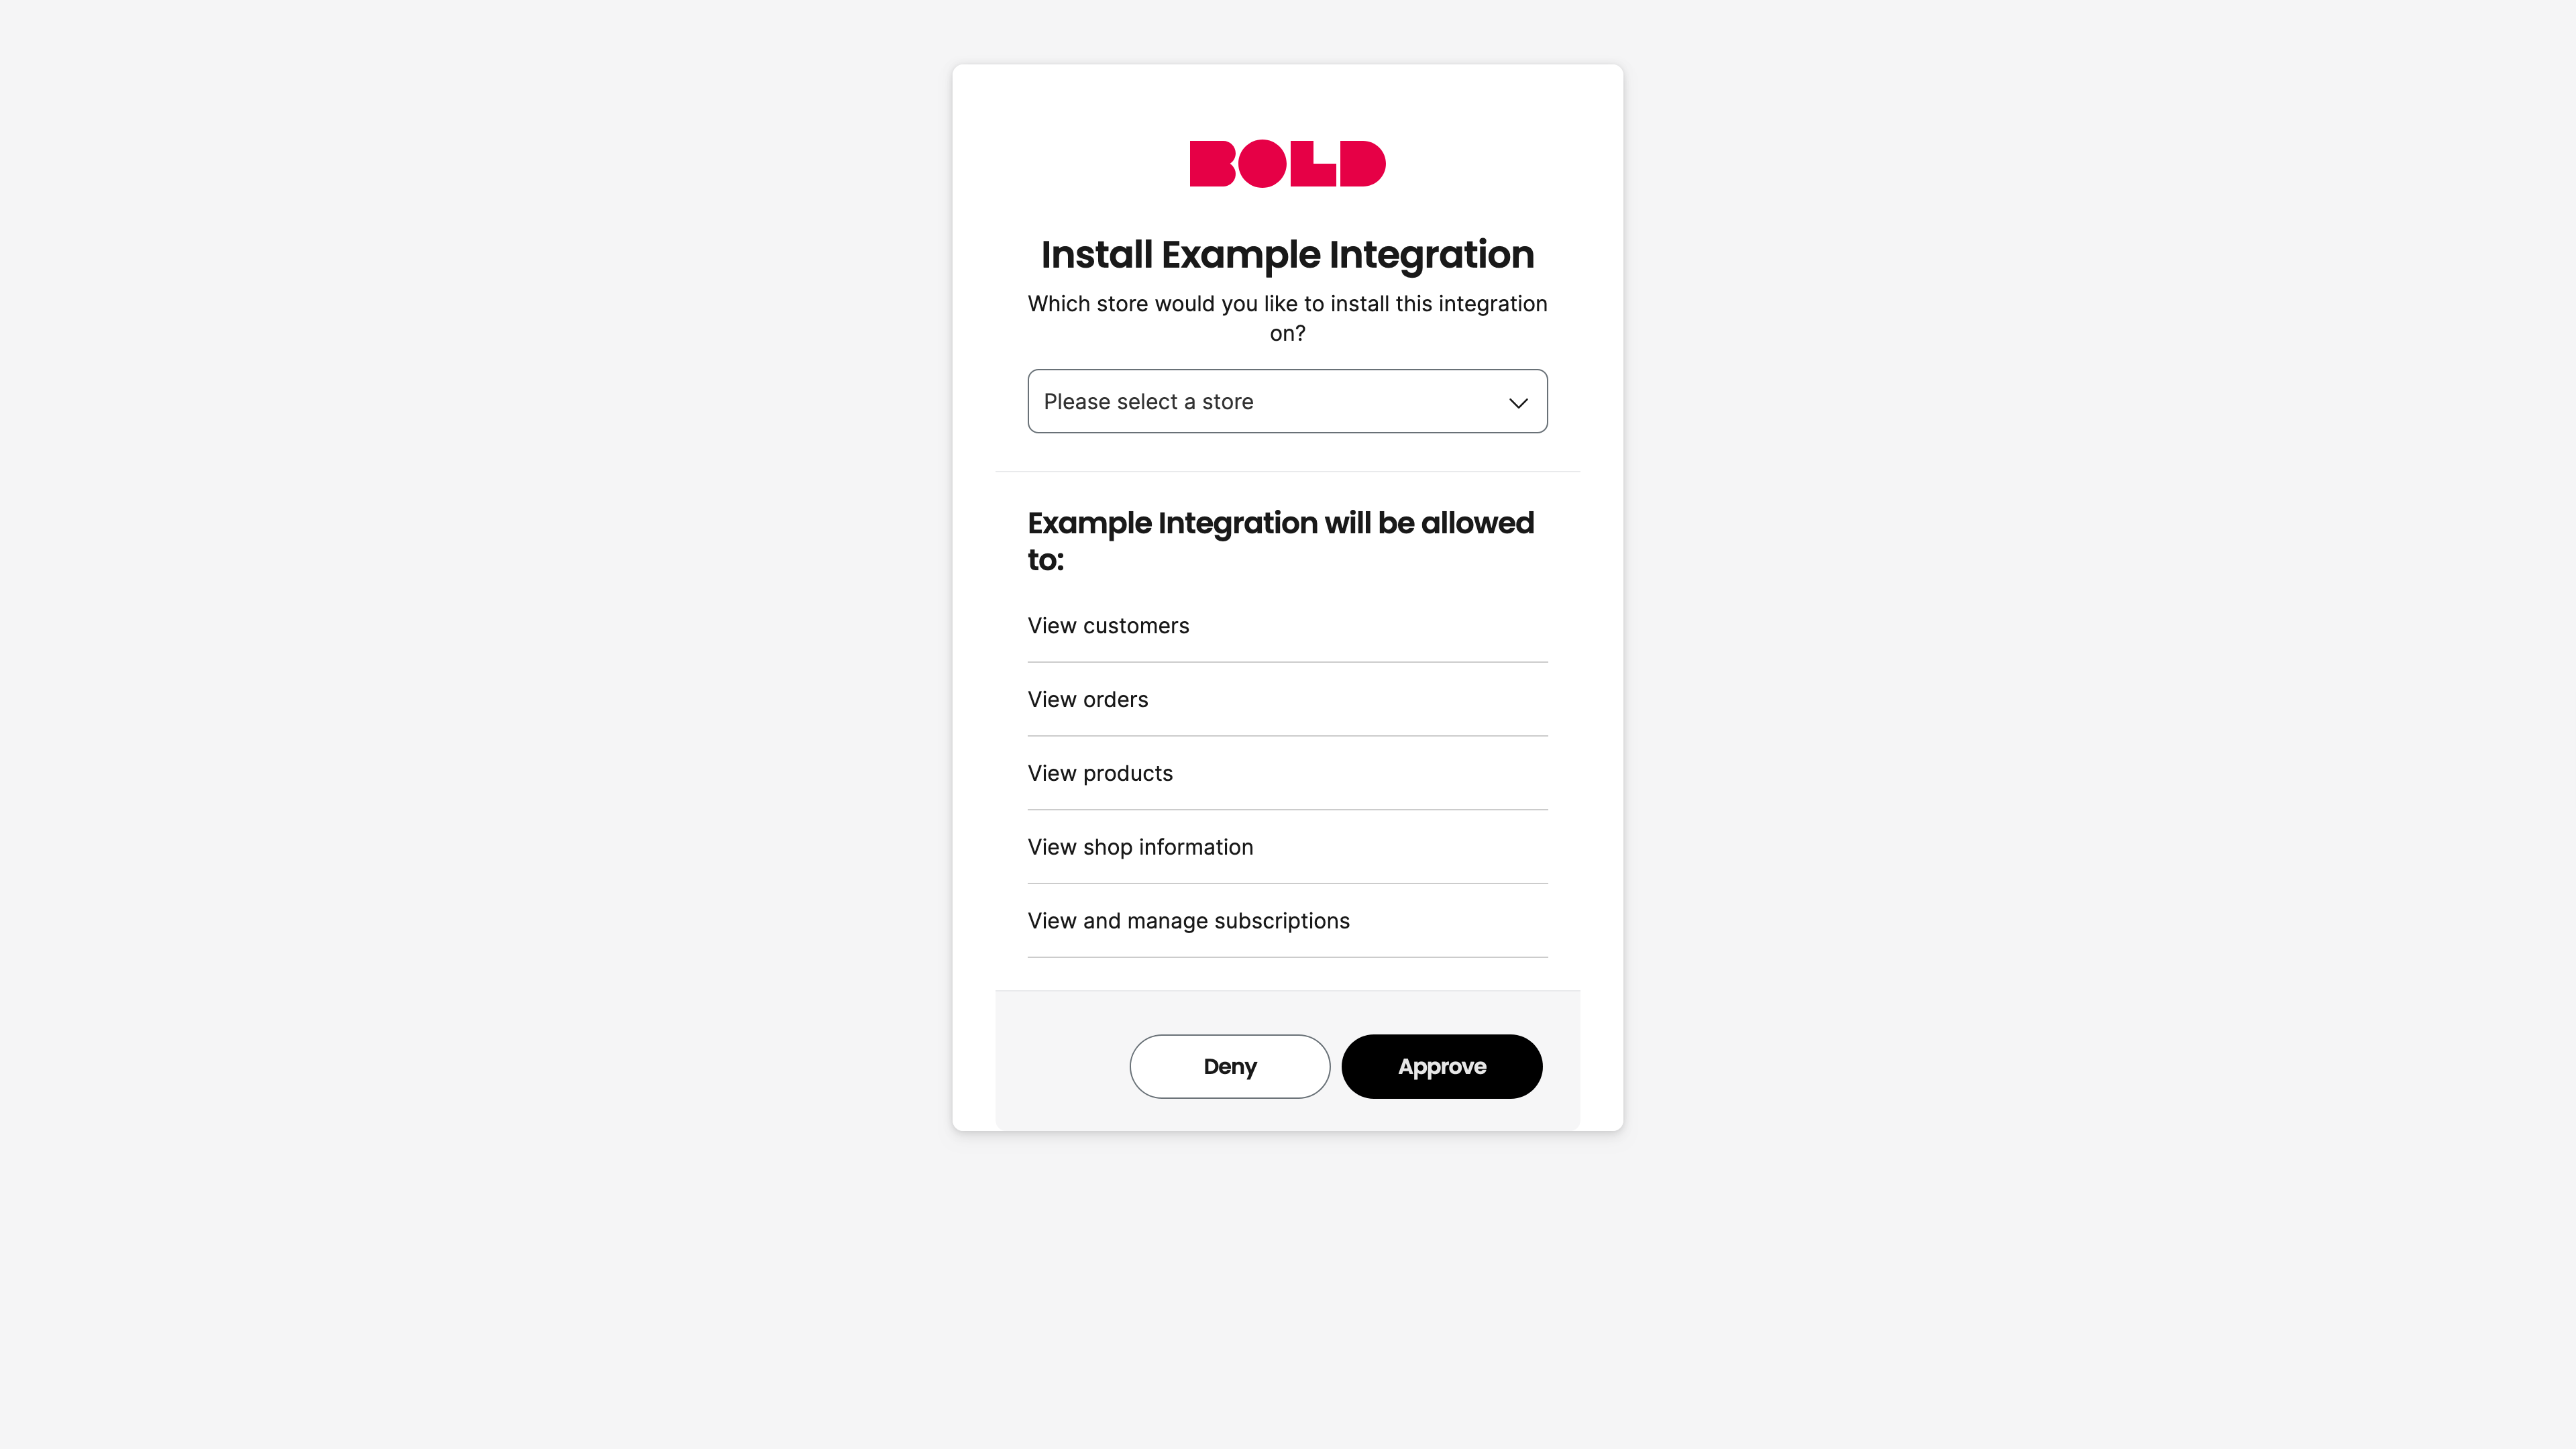
Accept granted permissions
Once the merchant grants the required access scopes, their browser redirects them to your defined redirect_uri.
Your application receives a request with a query parameter named code.
https://myapp.example.com/complete_install?code=OoChaiphaiLoWohgh2hae3ahchiy9iu9
| Field | Description |
|---|---|
code | The authorization code from the redirect request to your application. |
Exchange code for an API access token
Exchange the code value for an API access token associated with the merchant's store. The following shows an example using cURL to exchange the code for a token:
curl --request POST 'https://api.boldcommerce.com/auth/oauth2/token' \
     --header 'Content-Type: application/x-www-form-urlencoded' \
     --data 'client_id={client_id}&grant_type=authorization_code&client_secret={client_secret}&code={code}'
| Field | Description |
|---|---|
client_id | The client ID retrieved from creating credentials within your developer dashboard. |
grant_type | Must be set to the string value of authorization_code. |
client_secret | The client secret retrieved from creating credentials within your developer dashboard. |
code | The authorization code from the redirect request to your application. |
Store the API access token from the response
The JSON response you receive from the merchant contains an access_token field, which you must save for future API requests to that store.
The following is an example JSON response:
{
"token_type": "bearer",
"access_token": "2YotnFZFEjr1zCsicMWpAA"
}
If an error occurs, contact the Customer Success team.
Make your first request
Each Bold API request accesses https://api.boldcommerce.com and has a few common parameters. For a breakdown of these parameters, take the following example:
curl --request GET 'https://api.boldcommerce.com/{api}/{version}/shops/{shop_identifier}/resource' \
     --header 'Authorization: Bearer {api_token}' \
     --header 'Bold-API-Version-Date: 2022-05-01'
Request Parts
| Field | Type | Required | Description |
|---|---|---|---|
api | URL parameter | Yes | The API you are accessing. Full list of Bold APIs. |
version | URL parameter | Sometimes | Only required for versioned APIs. More about API versioning. |
shop_identifier | URL parameter | Yes | Shop GUID retrieved from making a request to the Get Shop Info endpoint. |
Authorization | Header | Sometimes | Only required for authenticated APIs. {api_token} should be replaced with your unique API access token. |
You can make most API calls using this format. To test it out, copy and paste the following commands into your command line interface.
Don't forget to replace {api_token} with your unique token.
Get your shop identifier
Use the Get Shop Info endpoint to get your shop_identifier and other basic shop info.
curl --request GET 'https://api.boldcommerce.com/shops/v1/info' \
     --header 'Authorization: Bearer {api_token}' \
     --header 'Bold-API-Version-Date: 2022-05-01'
If everything is working as expected, you will receive a JSON response containing the details of your store. Make a note of the shop_identifier for the next call.
Confirm your products are synced to Bold
Using the List Products endpoint, check that your products are synced to Bold.
curl --request GET 'https://api.boldcommerce.com/products/v2/shops/{shop_identifier}/products' \
     --header 'Authorization: Bearer {api_token}' \
     --header 'Bold-API-Version-Date: 2022-05-01'
If everything is working as expected, you will receive a JSON response with the details of the products in your store, if there are any.
If either of these steps fails, reach out to the Customer Success Team.
Keep building
You now have everything you need to start customizing your private integration. Here are some ideas for where to go next:
- Building Public Integrations — Contains details about connecting, creating, and deploying a public integration using Bold APIs
- API Specifications — Contains detailed information about each of the Bold APIs and their endpoints.
- User Guides — Contain details about the features of each API and provide guidance on their use.