Getting Started with Plugins
Bold encourages developers to use integrations in order to extend Bold Checkout, instead of plugins. There are two types of integrations: private and public. For more information, refer to Extend Bold Checkout.
Creating a Checkout plugin requires a slightly different development process from a traditional integration with Bold. Use the steps on this page to obtain the required credentials and set up your plugin.
In order to create a plugin, you must have the following:
- A store that is registered in the Account Center and has the Bold Checkout app.
- A self-hosted application to serve the plugin code.
- A client ID and client secret.
The following steps will help you fulfill these requirements and get your project up and running.
Prerequisites
Before you get started, complete the following steps:
- Install Bold Checkout on your store.
- Ensure that your use case is best addressed using a Checkout plugin. The Checkout Overview includes various use cases and which mechanism should be used to create a solution. If you are still not sure, please reach out to [email protected].
Create an account in Bold Account Center
The Bold Account Center enables you to manage your store as well as the apps and integrations installed on it.
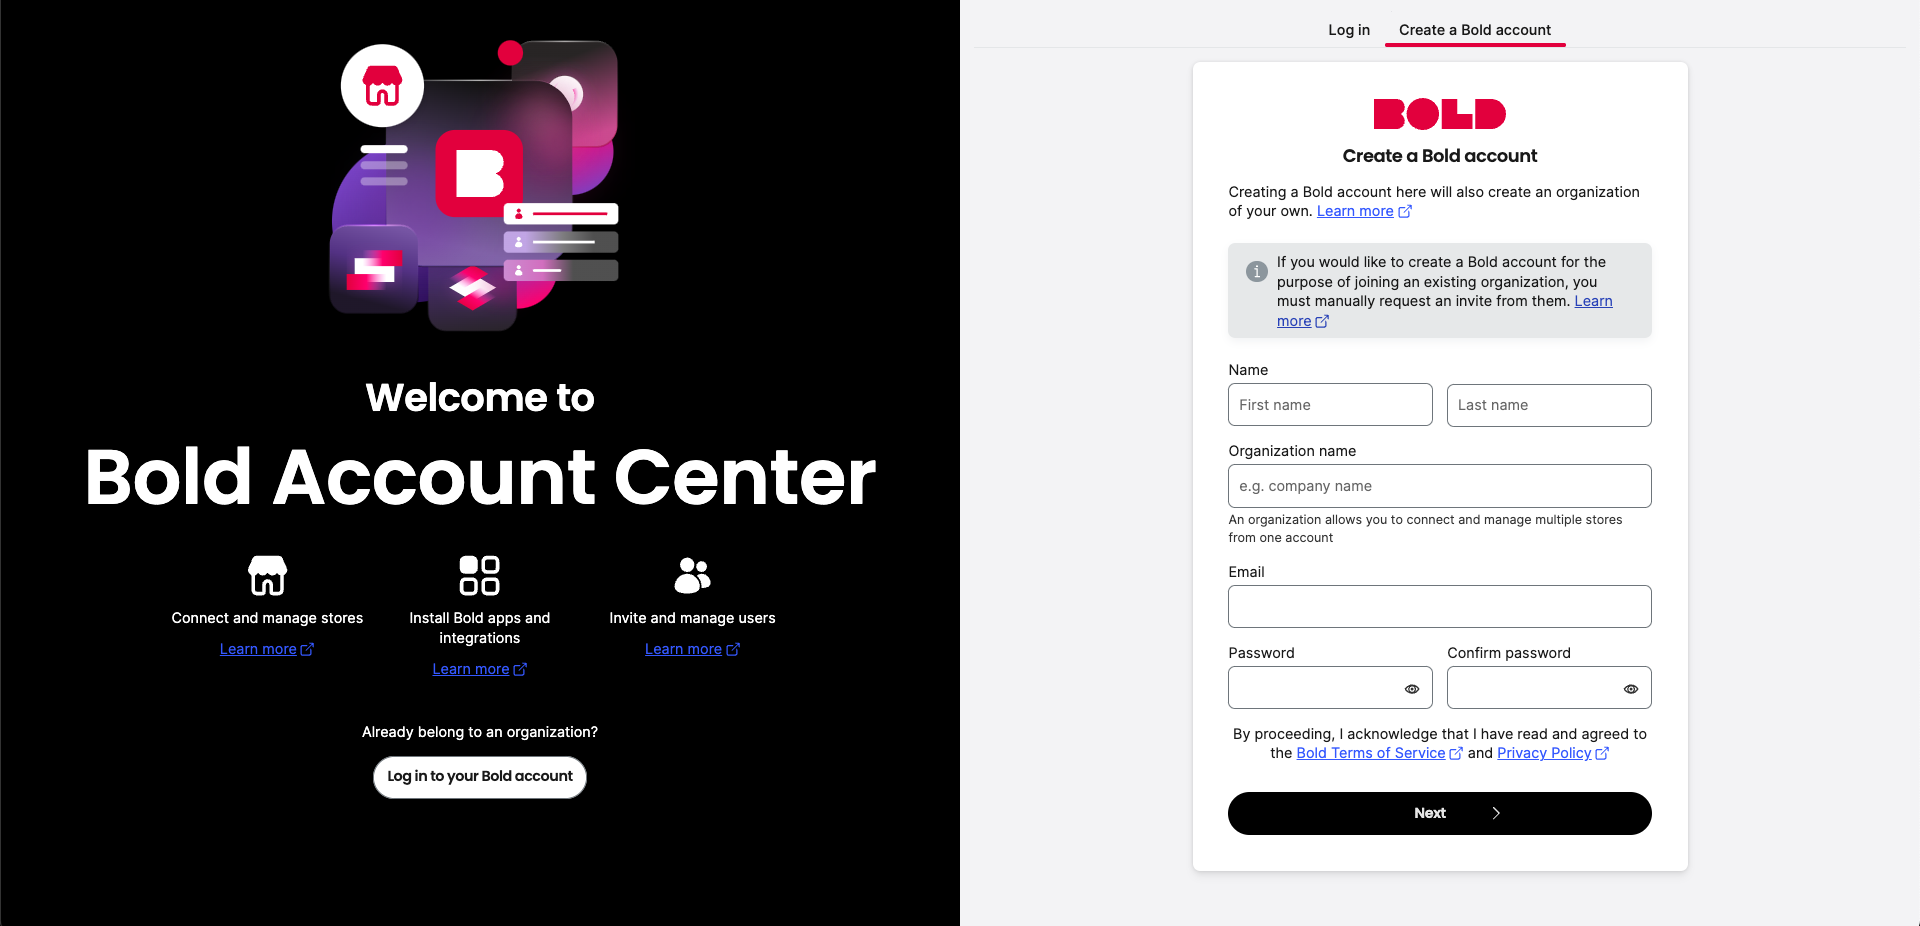
To create an account, use the following steps:
- On the Bold Account Center login page, click Get started.
- Click Create a new organization of your own.
- Complete the Name, Organization, Username, and Password fields.
- In this case, Organization usually refers to your company's name. This value is used to identify the stores associated with your account.
- Click Create Account.
- Click the Platform your store is on, and enter the Store URL. Click Add store.
- Bold Account Center detects whether you have any apps installed on the store.
- If you have apps installed, you are prompted to verify your store.
- If you do not have apps installed, you are prompted to install them at this time.
If the store you want to customize is already registered in Bold Account Center, reach out to the administrator of that store and request an invitation. You will receive an email with instructions on how to join the store.
Create a server
In order for Bold to communicate with your plugin, you must identify a solution for publicly hosting your plugin. There are many options for doing so.
In the solution you choose, you must create the following publicly available URLs:
- Development Store URL
- Bold enables your plugin on this store, so you can create and test your plugin in a development environment. Once you are ready for your plugin to be live on a production store, you can ask Bold to enable the plugin on additional URL(s) by reaching out to Customer Success](https://support.boldcommerce.com/hc/en-us/requests/new?ticket_form_id=1900000280347).
- For example:
dev.examplestore.mybigcommerce.com
- Event Dispatch URL
- This is where Bold sends events that your plugin is registered for. You must be able to receive and handle HTTP requests sent to this URL.
- For example:
examplestore.mybigcommerce.com/events
- Install Redirect URL
- When a merchant installs a plugin on their store, Bold calls your Install Redirect URL, which you must configure to return information about the plugin, including the scopes it requires. For more information about the Install Redirect URL, refer to Implement the Plugin Installation Flow.
- For example:
examplestore.myplatform.com/install
- Authorize Redirect URL
- After a merchant has accepted the scopes your plugin requests, Bold calls your Authorize Redirect URL, which you must configure to accept a temporary access token, send a permanent authorization code for that store, and redirect the merchant to the Checkout Marketplace. For more information about the Authorize Redirect URL, refer to Implement the Plugin Installation Flow.
- For example:
examplestore.myplatform.com/auth
- Uninstall Redirect URL
- If a merchant wants to uninstall your plugin from their store, Bold calls your Uninstall Redirect URL.
- For example:
examplestore.myplatform.com/uninstall
Submit a plugin intake form
Before you begin building your plugin, you must submit a Plugin Intake Form, which helps Bold determine where to send the events your plugin is subscribed to and where to send various other API calls.
If you need to make changes to this information after submitting the initial plugin intake form, reach out to Customer Success.
After you submit your information through the Plugin Intake Form, Bold will review your submission and reply within one business day.
Client ID and Secret
Once your plugin is approved, Bold sends you an email containing the following information you need to build your plugin:
- Client ID — this string is a publicly-available identifier for your plugin. Use this string to identify your plugin when you are making an API call from the plugin to Bold.
- Client Secret — this string is a private identifier for your plugin. Bold uses this string to create an HMAC-encoded signature that Bold sends with calls to your plugin. When your plugin receives an API call, use your client secret to decrypt the signature and verify that the call came from Bold Checkout.
Bold recommends setting these values as environment variables in your project. The following code snippet shows what this might look like:
PORT=3000
APP_URL=https://example.ngrok.io
BOLD_CHECKOUT_DOMAIN=cashier.boldcommerce.com
CLIENT_ID=aqkmwreioe23Rwkn192k
CLIENT_SECRET=sgmiAd92mgslkdgi
Next steps
Set up your plugin installation flow to enable users to install your plugin on their store.