Getting Started
Before you begin implementing your platform connector, you must complete a few steps to get set up.
Create an account in Bold Account Center
To create an account and connect your store in Bold Account Center, complete the following steps.
- On the Bold Account Center login page, click Create account.
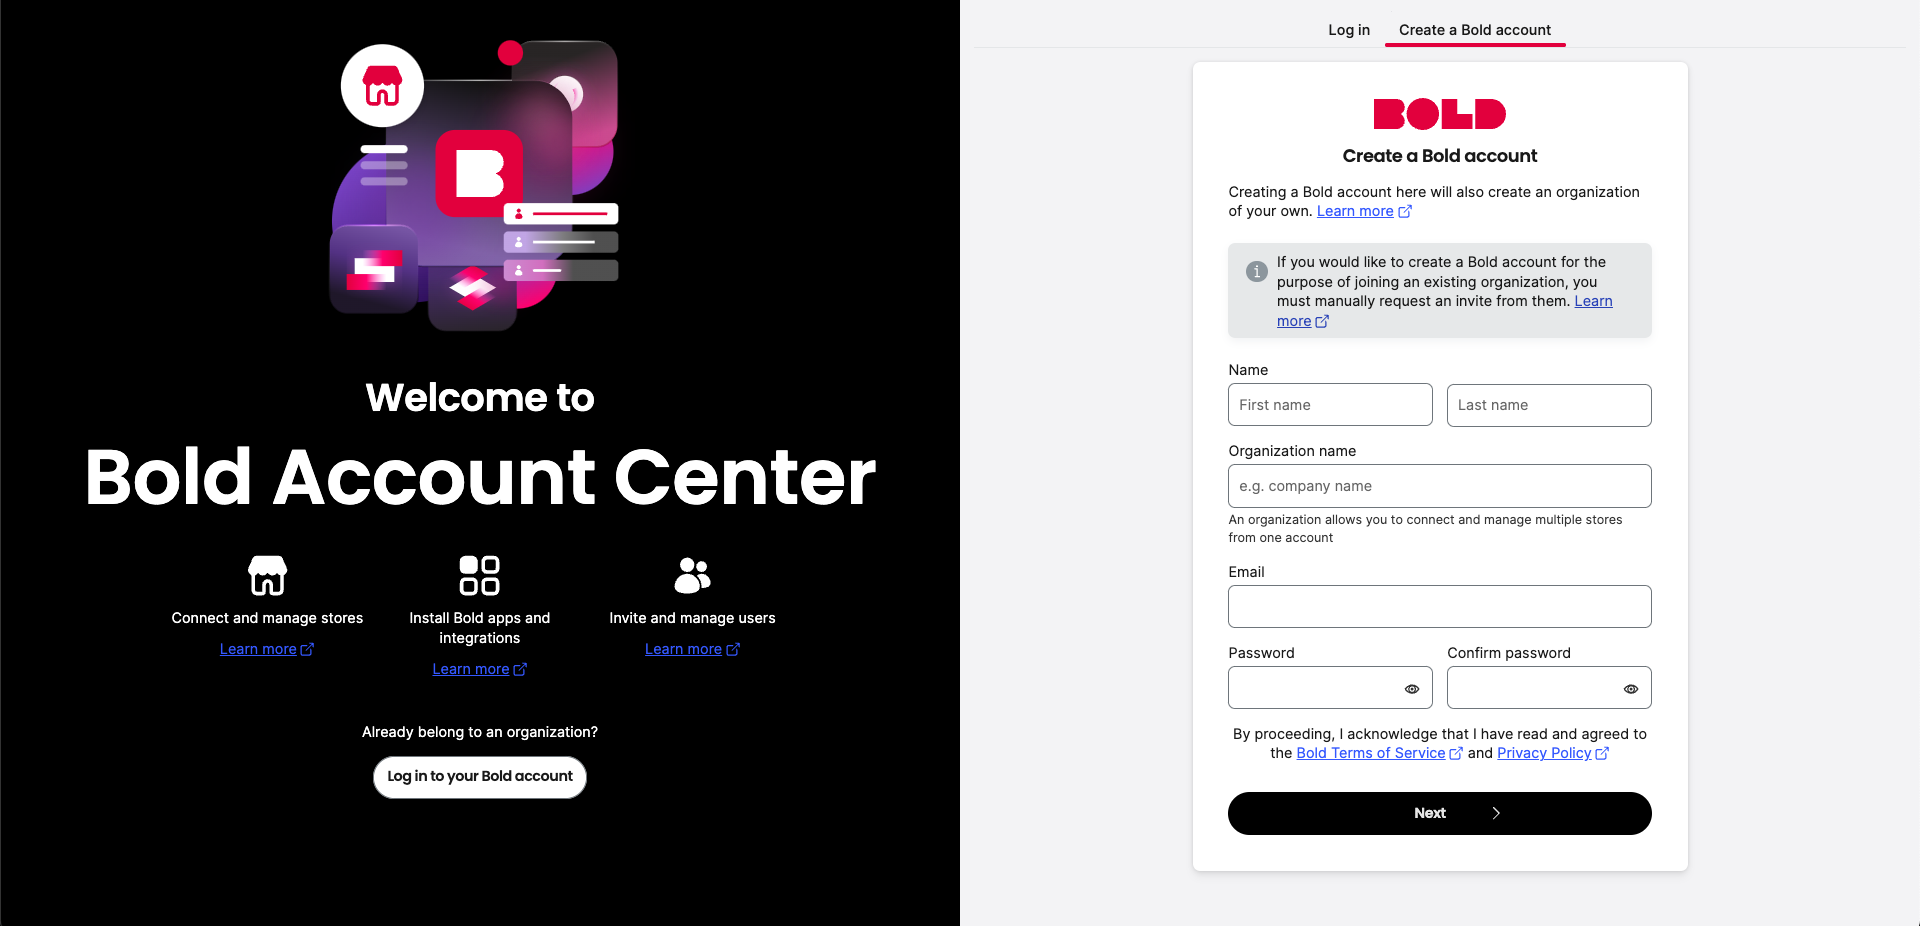
- Complete the Name, Organization, Email, and Password fields. Click Next.
note
In this case, Organization usually refers to your company's name. This value is used to identify the stores associated with your account.
- Bold sends you an email to verify your email address.
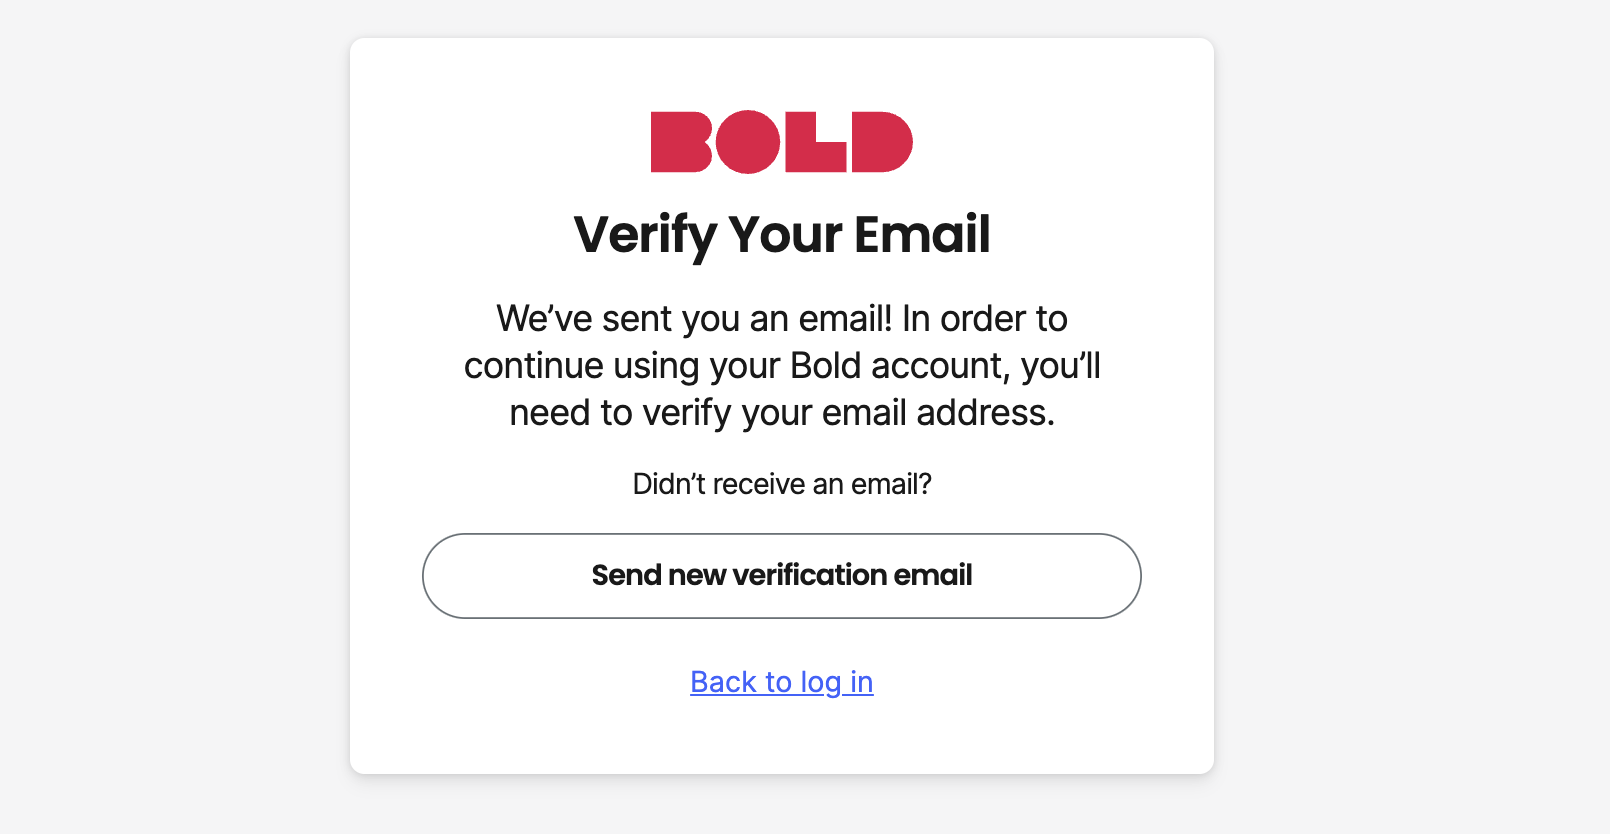
- Find the message in your inbox and click Verify email. You will be directed back to Bold Account Center.
- Enroll in multi-factor authentication.
note
Bold requires you to enroll in multi-factor authentication in order to access the Bold Account Center. You can use an authenticator that either scans a QR code or that requires manually entering a code.
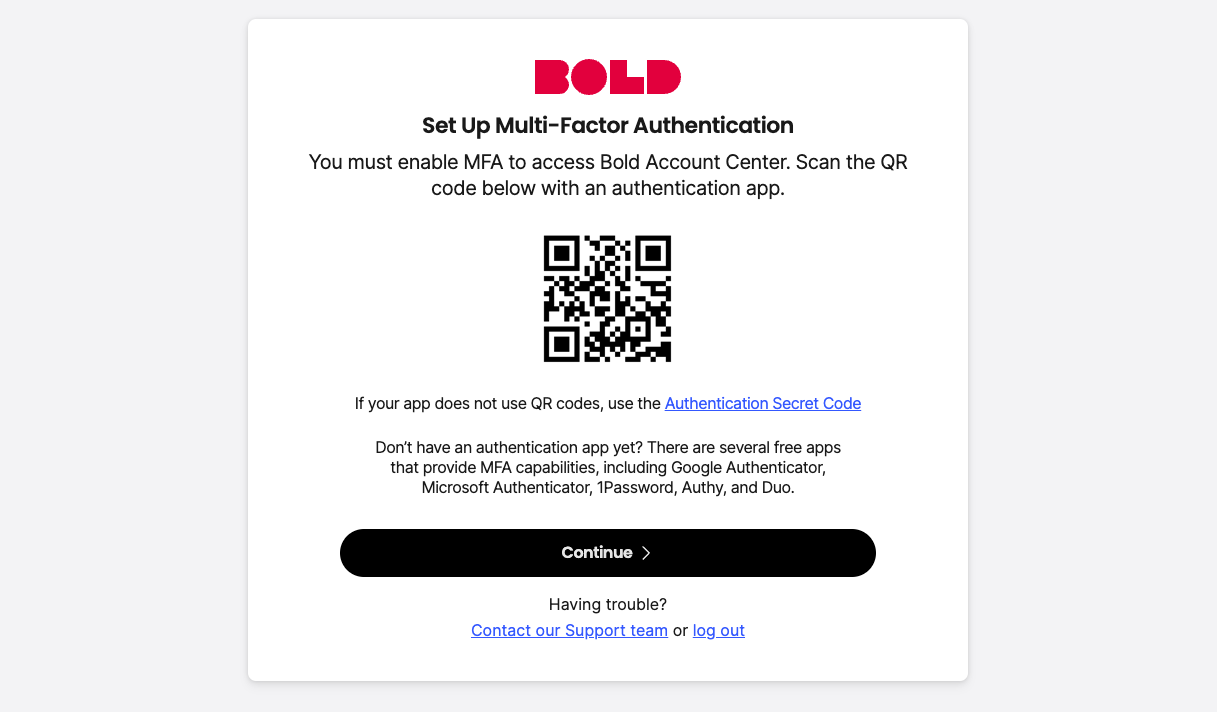
- If you do not have one already, download an authenticator app (such as Google Authenticator, Microsoft Authenticator, 1Password, Authy, Duo, or others).
- In your authenticator app, scan the QR code or manually enter the authentication secret code. Save the authenticator entry.
- In your browser, click Continue.
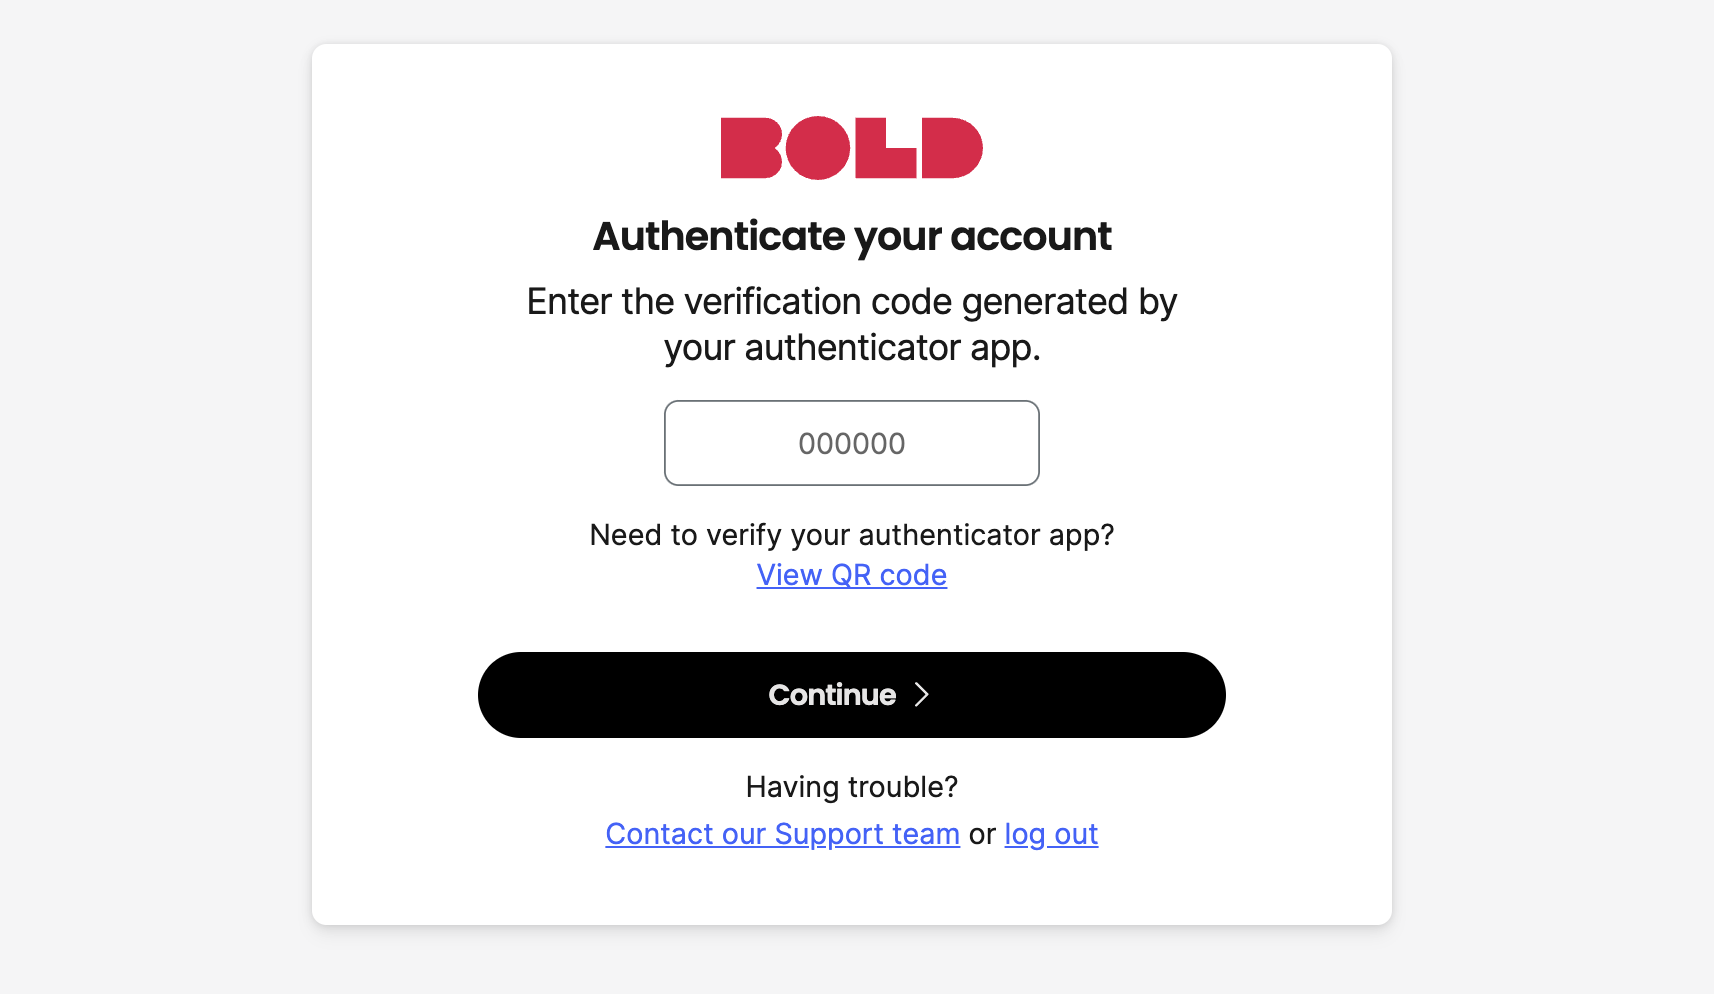
- Enter the six-digit code from your authenticator app, and click Continue.
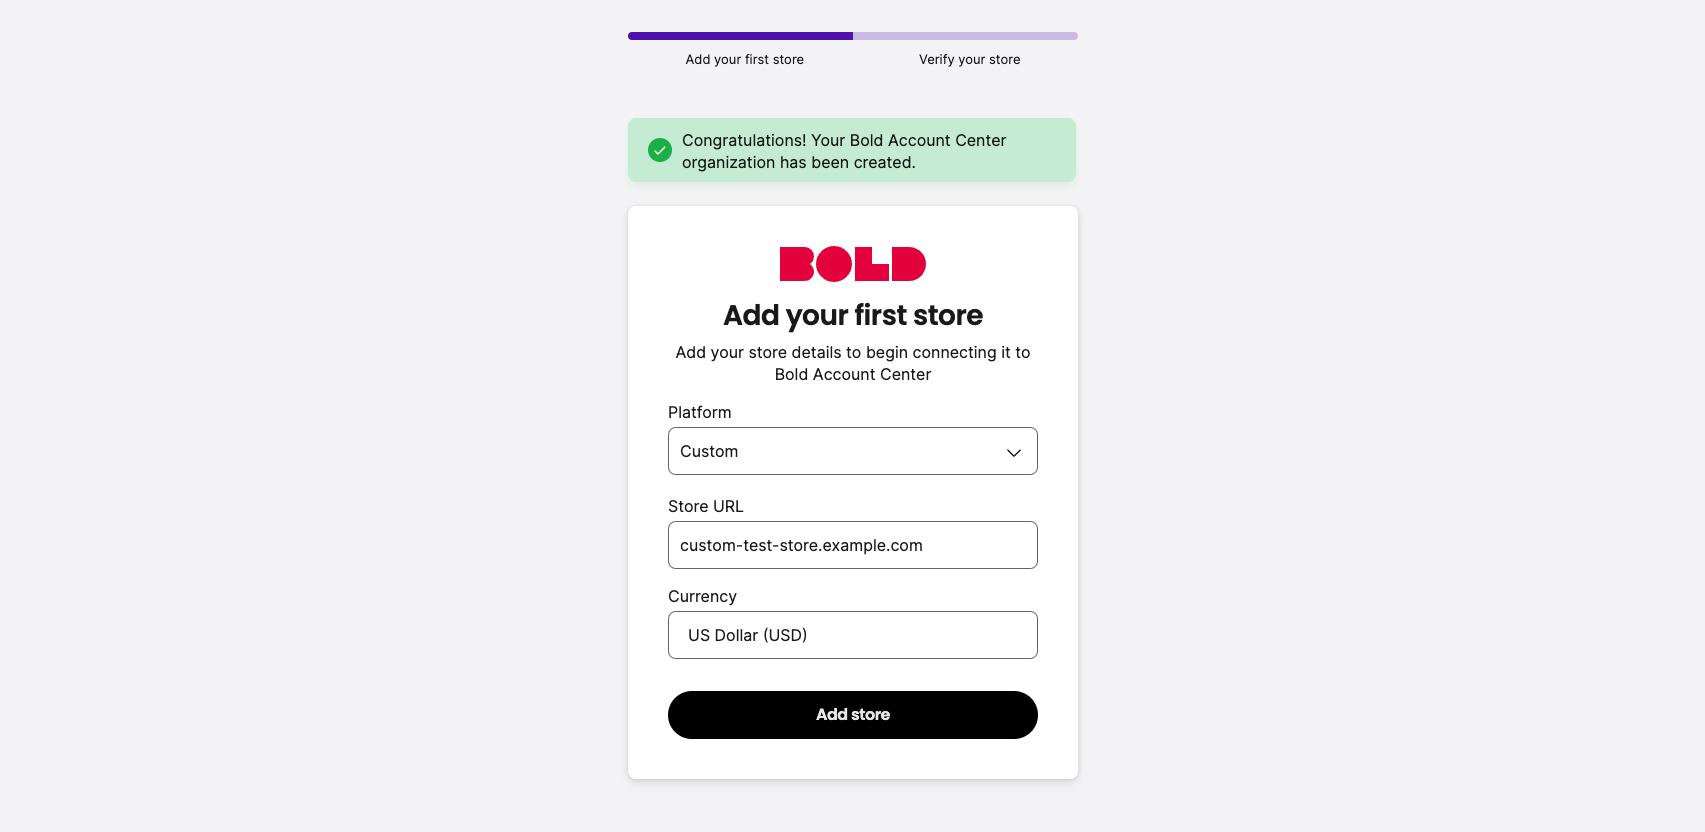
- Add your first store.
 note
noteIf your store is already registered in the Bold Account Center, reach out to the administrator of that store and request an invitation. You will receive an email with instructions for joining the store.
- Select your platform from the Platform drop-down menu.
- Enter your Store URL in the input box.
- Use the Currency drop-down to select the currency you want your store to use.
- Click Add store.
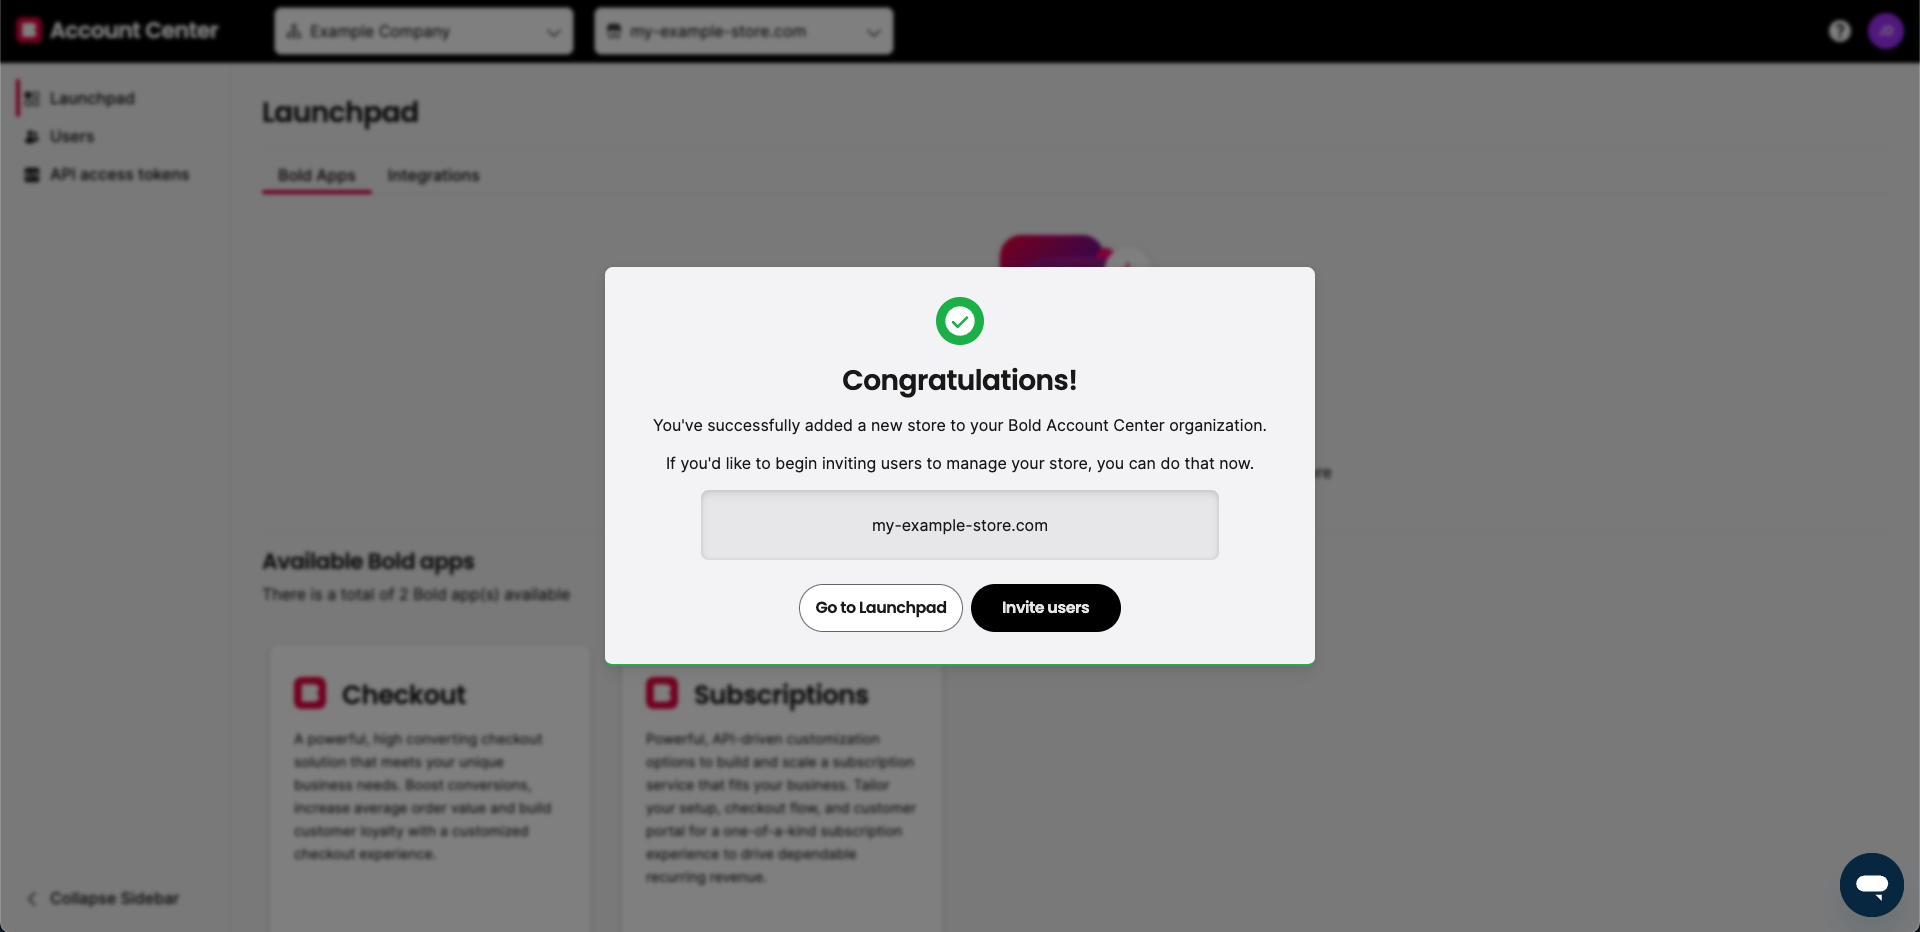
- A message appears to confirm you've successfully added your first store. You can now go to the Account Center Launchpad, or invite users to manage your store. For more information, refer to Invite or Deactivate a user in Account Center.
For help with Bold Account Center, refer to the Help Center.
Create an API access token
Once your store appears in the Bold Account Center, you can log in and create your API credentials. Complete the steps in Making API Calls to create and retrieve both your API access token and shared secret.
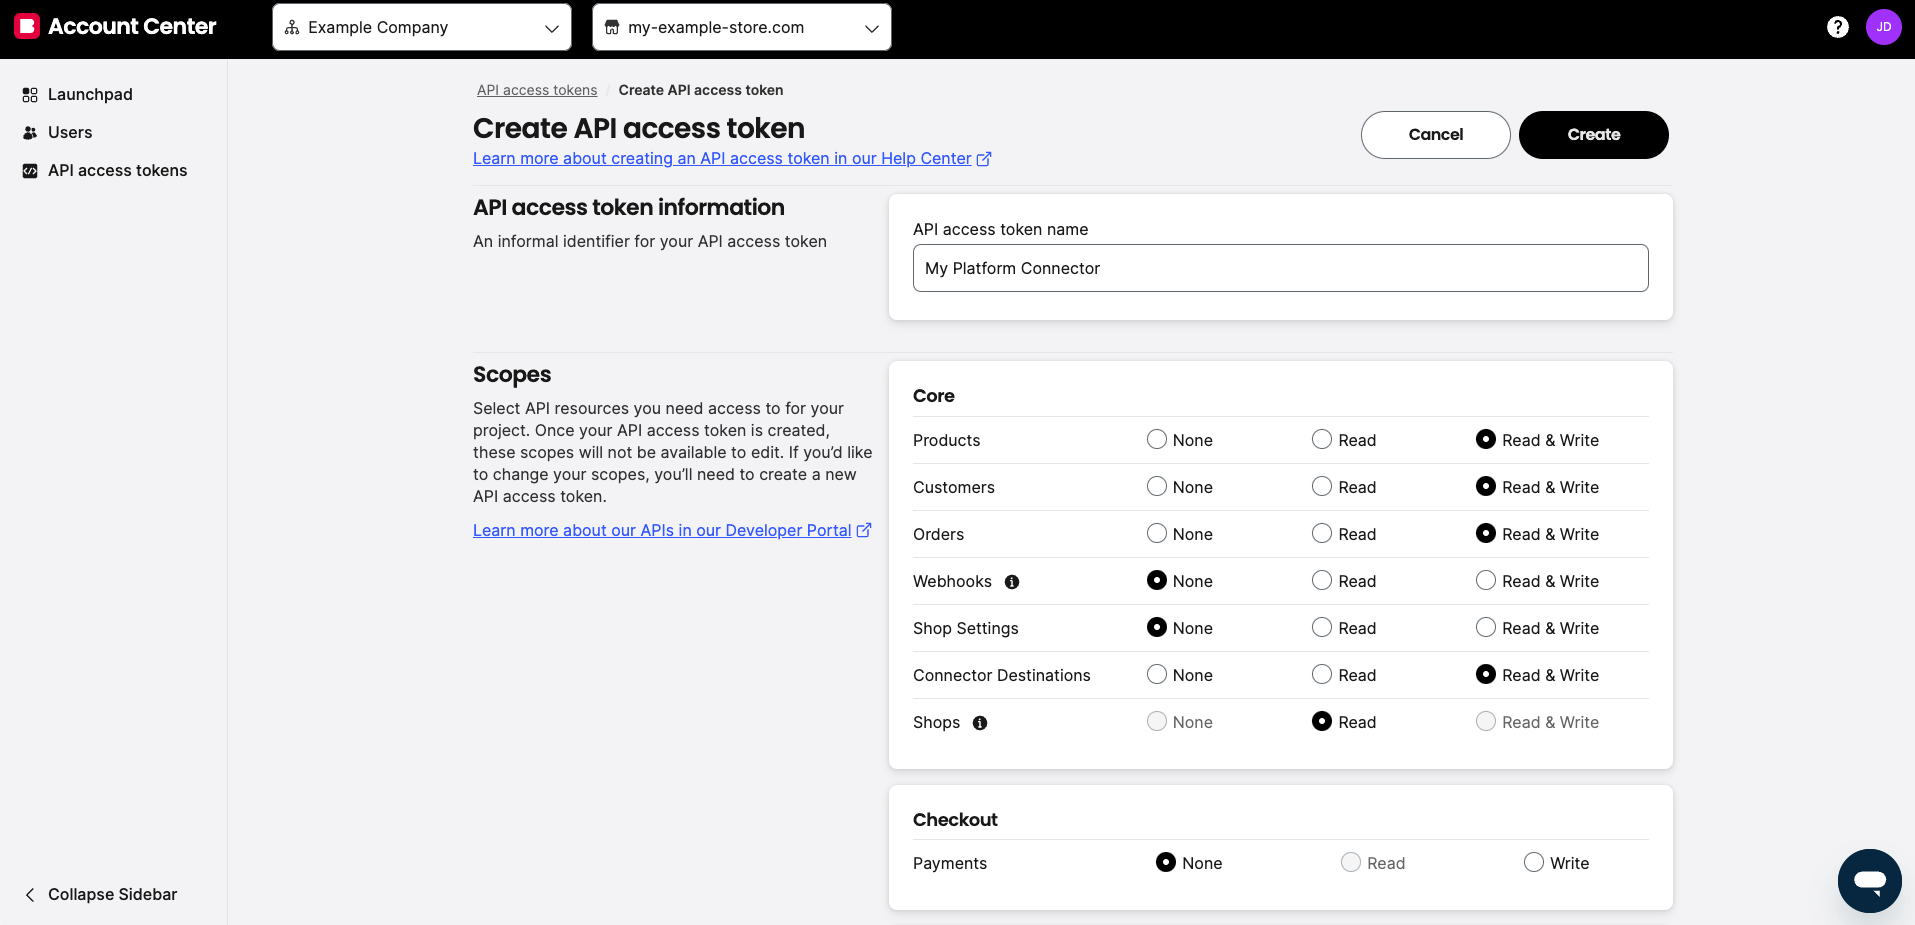
When prompted to select access scopes for the API access token, select the scopes shown in the following table and screenshot:
| Category | Scope | Permissions |
|---|---|---|
| Core | Products | Read & Write |
| Core | Customers | Read & Write |
| Core | Orders | Read & Write |
| Core | Connector Destinations | Read & Write |
Configure firewall settings
Many merchants have firewalls in place that restrict incoming and outgoing network traffic, allowing only a predefined set of IP addresses. The nature of a platform connector requires Bold to make calls to your server. For Bold's integrations to function, Bold domains must be able to make requests to your application.
To ensure proper operation, you must configure your firewall settings to allow requests from the following domains or IP addresses:
- Domains
- IP Addresses
Calls from Bold to your platform connector come from one of the following domains:
https://api.boldcommerce.comhttps://checkout.boldcommerce.com
Bold's applications are hosted on Google Cloud Platform, in the northamerica-northeast1 scope. These IPs are included below:
34.19.128.0/1734.20.0.0/1734.47.0.0/1834.95.0.0/1834.104.76.0/2234.118.128.0/1834.124.12.0/2234.128.37.0/2434.128.42.0/2334.128.49.0/2434.128.58.0/2334.152.0.0/1835.203.0.0/1735.215.0.0/1835.220.43.0/2435.234.240.0/2035.242.43.0/242600:1900:40e0::/44