Create a Self-Hosted Checkout Flow
Bold Checkout provides two options for working with checkout flows (Patent Pending): using a standard, Bold-hosted checkout flow, or hosting your own. Self-hosted flows can be anything — you can create any checkout frontend that you want, and power the checkout using Bold's APIs.
To make it easier to build your own self-hosted flow, Bold provides frontend templates as examples of standard Bold Checkout user interfaces. These templates also enable you to access API libraries for easy customization of the user experience.
The following diagram shows how the Open Source Checkout Templates interact with Bold Checkout and your own store:
This guide outlines how to get the templates up and running and how to customize them to your unique business needs.
Architecture requirements
Creating a self-hosted checkout flow with the Bold APIs requires the following technologies:
-
The Bold Checkout app installed on your store, which enables you to use the Checkout Frontend, Checkout Backend, and Checkout Admin APIs.
-
An ecommerce platform, which provides product inventory management, maintains customer records, and hosts site pages.
-
A frontend application, which allows you to customize your users’ checkout experience and align user interface elements with your brand. In this example, this functionality is provided by the Open Source Checkout Templates.
-
A backend application, which provides routing functionality, initializes orders via the Bold Checkout Backend API, and serves the base HTML pages that will host your checkout user interface. The Checkout Experience Backend project provides the basics for self-hosting your checkout flow.
noteThe backend application is used to call the Checkout Backend API. This API requires tokens with special privileges that are not safe to share publicly, so it is important to make these calls from a controlled environment.
Prerequisites
Before you get started, complete the following steps:
- Follow the steps outlined in the Getting Started Guide.
- Ensure that you can serve your checkout application a publicly-accessible URL with a unique domain name. Bold requires a publicly-accessible URL to verify the security of customer information when using the Bold APIs.
- You can use tools such as NGROK or Cloudflare Tunnels to create a public domain for your local host.
- This link is referred to as
<YOUR_PUBLIC_SERVER_URL>in the rest of this documentation.
- Complete the following steps in the Checkout Getting Started guide:
- Install
nodeand eitheryarnornpm.
Create a backend application
To self-host your checkout flow, you must provide your own server infrastructure. The Checkout Experience Backend project provides an example of how to connect to Bold Checkout APIs with the checkout frontend. Follow the instructions in this section to create and configure a backend application.
Requirements
In addition to completing the prerequisites listed earlier, you also need the following:
- PHP 8.1 with Laravel 9
- Composer
- A MySQL database server
Clone and set up the project
Complete the following steps to clone and set up the project:
- Clone the project and install dependencies:
git clone [email protected]:bold-commerce/checkout-backend.git
cd checkout-experience-back-end
composer install - Create an
.envfile from the sample file:cp .env.example .env - Generate a Laravel key by running the following command:
./artisan key:generate - Open your new
.envfile and replace the following values:APP_URL=<YOUR_PUBLIC_SERVER_URL>CHECKOUT_API_PATH=checkoutCHECKOUT_API_ENVIRONMENT=https://api.boldcommerce.com
Create the database
The Checkout Experience Backend project requires a MySQL server for persistence. Complete the following steps to connect the project with your server:
- Connect to the MySQL server.
- Create a new database.
- Open your
.envfile and replace the following values:DB_DATABASE= The database name.DB_USERNAME= The database username.DB_PASSWORD= The database password.DB_HOST= The database host name.DB_PORT= The database port.
- Navigate to the root directory of the project. Run
./artisan migrateto configure the newly created database.
Create Developer Dashboard credentials
Complete the following steps to create a set of credentials and add them to your project:
- Navigate to the Developer Dashboard.
- Sign in or create an account.
- Click Create API Credential.
- Name the set of credentials.
- In the Redirect_uris field, enter
<YOUR_PUBLIC_SERVER_URL>/api/authorize. - Click the Create API Credential button.
- Open your
.envfile and replace the following values:DEVELOPER_CLIENT_ID= Theclient_idfrom the Developer Dashboard.DEVELOPER_CLIENT_SECRET= Theclient_secretfrom the Developer Dashboard.DEVELOPER_REDIRECT_URL=<YOUR_PUBLIC_SERVER_URL>/api/authorize
Start your server
Complete the following steps to start your server:
- Navigate to the root directory of your project. Run
./artisan serve. - If the project is running locally, you also must expose the server to the public internet using a tunnel tool of your choice (ngrok, Cloudflare Tunnels, etc).
Install Bold Checkout on your server
Complete the following steps to install Bold Checkout on your server:
- In a browser, navigate to
<YOUR_PUBLIC_SERVER_URL>/install. - Click the Install button. The browser redirects you to Bold Account Center.
- Login to your Bold Account Center account.
- If the account has multiple stores, select the store you wish to install Bold Checkout on, and click Continue. Otherwise, continue to the next step.
- In the prompt that appears, review the permissions and click Approve. If successfully installed, a JSON response appears on your storefront that begins with the following:
{"message":"Shop install successful"...}
Create a frontend application
Bold provides two templates in the Open Source Checkout Templates repository:
The Open Source Checkout Templates make use of the Checkout Frontend Library to call the Bold Checkout APIs.
The following screenshot shows an example of the one page template:

Follow the instructions in this section to set up your application to use one of these templates.
Clone and configure the Open Source Checkout Templates
Complete the following steps to clone and configure the Open Source Checkout templates:
- Clone the project:
git clone [email protected]:bold-commerce/checkout-experience-templates.git
cd checkout-experience-templates - Install the necessary node modules.
- If using
npm, runnpm install. - If using
yarn, runyarn install.
- If using
- Build the code.
- If using
npm:- Run
npm run build-devfor development-mode JavaScript generation, which has debugging features. - Run
npm run buildfor production-mode JavaScript generation, which compresses the compiled JavaScript to reduce load time.
- Run
- If using
yarn:- Run
yarn build-devfor development-mode JavaScript generation, which has debugging features. - Run
yarn buildfor production-mode JavaScript generation, which compresses the compiled JavaScript to reduce load time.
- Run
- If using
- The generated files are located in
<path-to-project>/build. - Run the project locally using
npm run serveoryarn serve. Verify that you can see the built JavaScript file in your browser atlocalhost:8080/three_page.jsorlocalhost:8080/one_page.js. There will be no user interface visible at this stage.
Define the browser Window object
The Open Source Checkout Templates must also have access to the browser's Window object.
In particular, the template requires the following standard properties and methods for the Window object:
- Window.location.href
- Window.location.hostname
- Window.location.pathname
- Window.history.replaceState
- Window.innerWidth
- Window.addEventListener
- Window.removeEventListener
- Window.scrollTo
- Window.matchMedia
In addition, you must add and define custom properties expected by the template. The following table describes the properties and how they are used:
| Property | Type | Description |
|---|---|---|
Window.initialTimestamps | IFrontEndEvent or string object | Time stamps set to send event information to track speed. |
Window.storeLoadTimesLocally | boolean | Indicates whether to send event information used to track speed. |
Window.environment | IEnvironment | A variable that sets the type of environment the app is running in order to call the correct Bold Checkout APIs. Possible values are 'production' and 'development'. For example: Window.environment = {type: 'production'} |
Window.bugsnagApiKey | string | (Optional) An API key used to connect to BugSnag to report errors as they occur. |
Window.customDomain | string | (Optional) A vanity override for the Window.shopAlias URL. Shown to the customer when they are on the checkout page. |
Window.enableConsole | boolean | (Optional) Indicates whether to define an extra console.error that is printed to the console as errors happen. |
Window.shopIdentifier | string | The identifier of your store, retrieved from the Get Shop Info endpoint. |
Window.shopAlias | string | Used to create the URL to access the shop and to compose the URL to access the checkout page. |
Window.shopName | string | The name of the store. You can display this on the checkout page. |
Window.headerLogoUrl | string | (Optional) The URL of the image of the store's logo. You can display this on the Checkout page. |
Window.returnUrl | string | The URL of the cart page. You can display this URL on the checkout page to allow the customer to return to the cart. |
Window.loginUrl | string | The URL of the store login page. You can display this URL on the checkout page to allow the customer to log in. |
Window.supportEmail | string | An email that a customer can use to contact the store. You can display this on the checkout page to allow the customer to contact support. |
Window.platformType | string | The platform the store uses. You can use this to compose the URL to load or redirect the checkout page. |
Window.publicOrderId | string | The public order ID generated when you initialize an order using the Initialize Order endpoint. |
Window.initializedOrder | string | The application state of an order, returned from a call to the Initialize Order endpoint. If the order is for an authenticated customer, you can use the Add Authenticated Customer endpoint to initialize a checkout session with a logged-in order. |
Indicate which template you want to use
You can only use one template per checkout flow. Because the Open Source Checkout Templates repository contains two templates, you must tell your backend application which one to display.
The Checkout Experience Backend project defaults to using the three-page template. If you want to use the one-page template instead, complete the following steps:
- In your database, navigate to the
assetstable. In theasset_namefield, locate the1 Page templateand make note of theid. - Navigate to the
shop_assetstable. Enter theidin theasset_idfield. - Reload the checkout frontend by running
npm run build-dev. Your checkout should now display the one page template.
Override your storefront’s default checkout
The steps to override a checkout on your storefront are platform specific, which means that every ecommerce platform has a unique implementation.
The following sections include some general best practices to redirect the store's default checkout to the overriding Bold Checkout, as well as a sample for BigCommerce stores.
General approach
Complete the steps below to create a checkout override script for your platform:
- Construct a URL that points to
<YOUR_PUBLIC_SERVER_URL>/experience/init/<SHOP_DOMAIN>.- Replace
<SHOP_DOMAIN>with the domain used when installing Bold Checkout on your store. For example, if<YOUR_PUBLIC_SERVER_URL>ischeckout.examplestore.com, the<SHOP_DOMAIN>isexamplestore.com. The resulting URL would becheckout.examplestore.com/experience/init/examplestore.com. - Include the appropriate query parameters (see below).
- Replace
- Update your storefront’s checkout buttons to use this new URL. The method for doing so varies between platforms.
Query Parameters
There are two main variations of query parameters that are supported:
The initialization variant creates a new order for the specified cart. This script is typically best for when the customer clicks the Checkout button for the first time.
| Parameter | Type | Description |
|---|---|---|
cart_id | string | The ID of the cart on your commerce platform. The exact structure of this string varies by platform. |
return_url | string | Configures where any “return-to-cart/store” links on the checkout should point to. Note: If this parameter is excluded, these links will not resolve. |
checkout_local_time | number | (Optional) A tool for tracking performance metrics. If included, this value must be the current unix timestamp. |
customer_id | string | (Optional) The ID of the customer on your commerce platform. Including this parameter causes checkout to be initialized as the user, allowing access to their saved customer information (addresses, payment methods, etc.). Note: This project does not verify any customer information. All authentication must be done on the platform. |
user_access_token | string | (Optional) The access token for authenticated user. Required if the user is authenticated. |
The resume variant resumes an order that is already in progress. This variant is useful for when a user refreshes the page or for custom communication (e.g., a custom abandoned cart email with a link to resume an order).
| Parameter | Type | Description |
|---|---|---|
public_order_id | string | The public order ID of the Bold Checkout order you wish to resume. |
return_url | string | Configures where any “return-to-cart/store” links on the checkout should point to. Note: If this parameter is excluded, these links will not resolve. |
checkout_local_time | number | (Optional) A tool for tracking performance metrics. If included, it should be the current unix timestamp. |
customer_id | string | (Optional) The ID of the customer on your commerce platform. Including this parameter causes checkout to be initialized as the user, allowing access to their saved customer information (addresses, payment methods, etc.). Note: This project does not verify any customer information. All authentication must be done on the platform. |
user_access_token | string | (Optional) The access token for authenticated user. Required if the user is authenticated. |
BigCommerce example
Bold provides a sample script for BigCommerce stores. Complete the steps below to redirect the BigCommerce checkout to the new checkout:
- Login to the store's BigCommerce admin portal.
- Navigate to Storefront >> Script Manager and create a new script with following values:
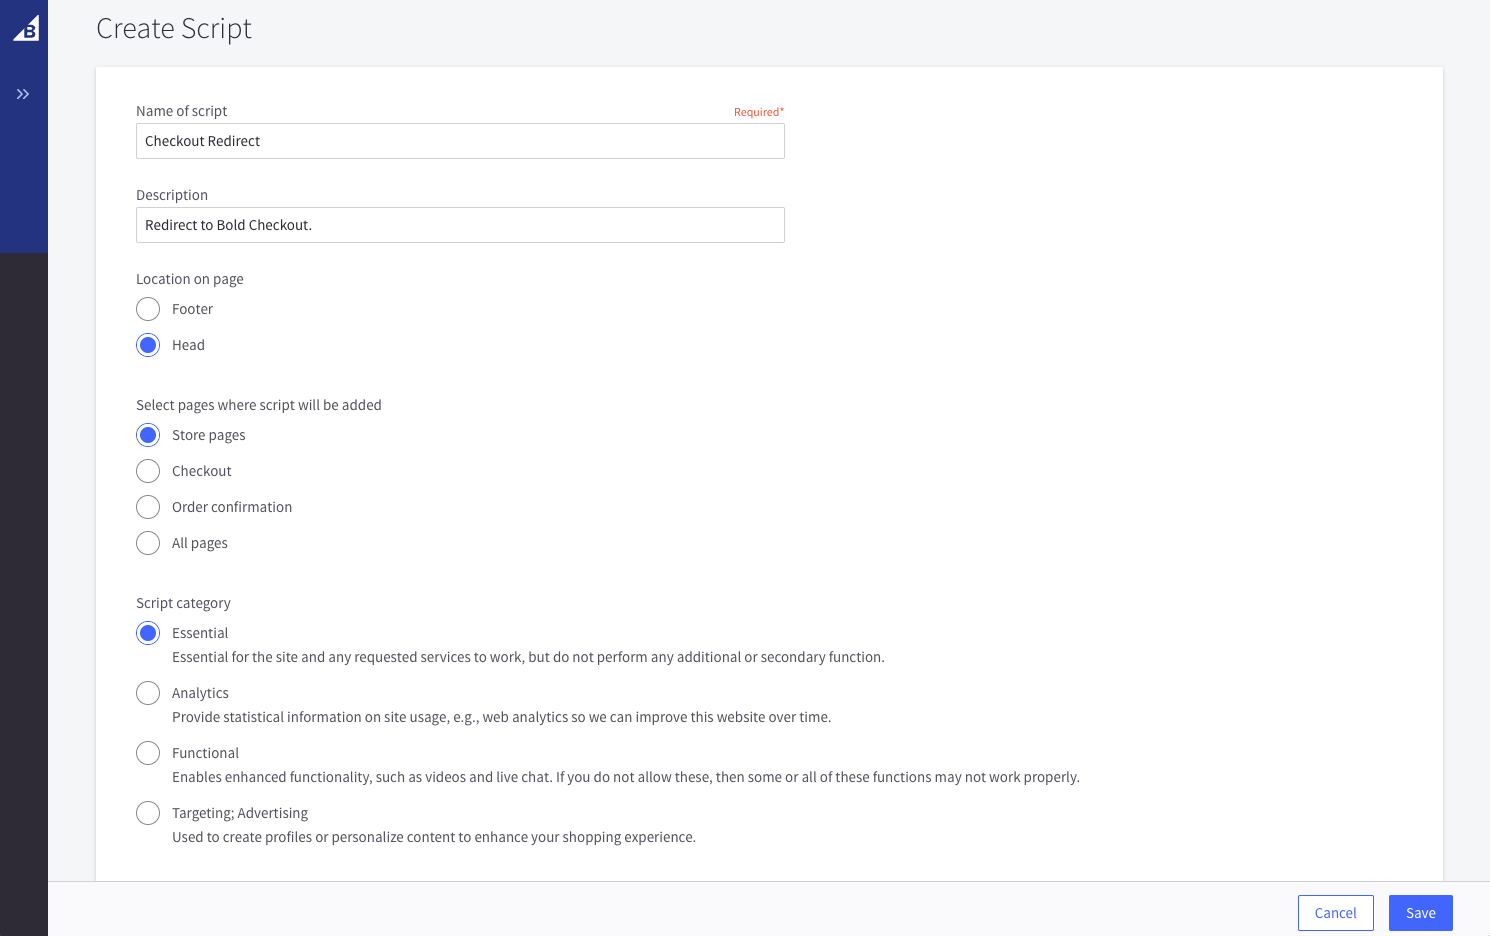
- Name of script: The unique script name.
- Description: A brief description.
- Location: Select Head option.
- Select pages where script will be added: Select Store pages option.
- Script category: Select Essential option.
- Script Type: Select Script option.
- Script Content: An example script can be found at resources/assets/bigcommerce/installation.js. Update
CUSTOM_CHECKOUT_INIT_URLto match<YOUR_PUBLIC_SERVER_URL>.
- Test the checkout override. Navigate to your storefront, add an item to the cart, and click the checkout button. If working correctly, the site redirects you to Bold Checkout.
Next Steps
(Optional) Add express pay capabilities
The Open Source Checkout Templates include support for the Checkout Express Pay Library, which adds Google Pay, Apple Pay, Link (from Stripe), and PayPal Express options to your checkout.
When alternative payment gateways are enabled, the templates display an Express Checkout section at the top of the standard checkout page, as shown in the following image:

Use the following steps to configure express and wallet payment methods on your store:
- In the Bold Checkout admin, navigate to Payment options >> Payment Gateways.
- In the Connect a payment gateway section, click the Alternative payment gateways drop-down.
- Next to each gateway you would like to add, click Connect. Complete the setup steps shown, which differ for each payment gateway.
- Once each alternative gateway is connected, it will automatically appear in the checkout.